
Planerium AI Lesson Plan
Drawing and Personalizing Our Self Portraits
Original printable
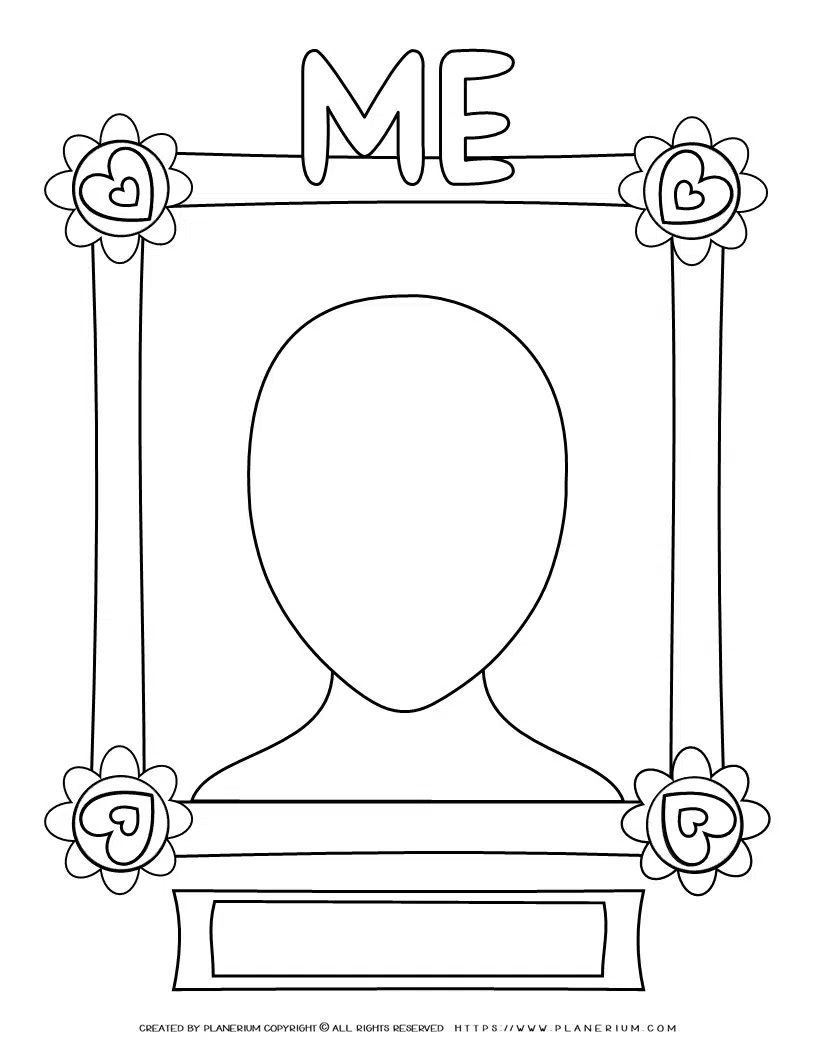
Self Portrait template for classroom or homeschool students: use this black-and-white coloring-page style sheet to draw their face, color the surrounding frame, and add their name on the tag; includes a built-in frame and "Me" label for display. Promotes observation, fine-motor c
Learning Objective
Students will use their imagination to draw and personalize their self portrait, expressing their unique identity and practicing observational skills.
Teacher-Selected Inputs
Why this printable fits
This printable provides a simple, focused space for first graders to draw their own face, color a frame, and add their name, supporting identity awareness and imagination in a subject centered on Identity & Self.
Vocabulary
PRE-TEACH
- imagine: Make a picture in your head
- identity: Who you are
- portrait: A picture of a face
USE DURING LESSON
- frame
- name
- draw
- color
- decorate
Materials
- Printed Self Portrait template for each student
- Crayons or colored pencils
- Pencils or markers for drawing
Prep
- Print one Self Portrait template per student
- Prepare crayons, markers, and pencils at each table
Lesson Steps
- Introduction and Modeling6 minTeacher actions: Show the Self Portrait template to the class. Model drawing your own face step-by-step. Model coloring the frame around the face and writing your name on the tag. Explain what a portrait is and what they will do.Teacher script: Today we are going to draw a picture of ourselves called a self portrait. Watch me draw my face, color the pretty frame, and write my name so everyone knows whose portrait it is.Example / model: Teacher draws simple eyes, nose, mouth on the blank face shape, colors the frame red, and writes teacher's name on the tag.Printable use: Teacher uses the template to model each part: drawing face, coloring frame, writing name.Move on when: Students watch attentively and are ready with blank printable and drawing tools.Support if needed: Provide sentence frame: 'I am drawing my ____, my ____, and my ____.
- Drawing the Face6 minTeacher actions: Instruct students to imagine their own face. Guide them to start drawing basic facial features. Circulate to assist individual needs and prompt their imagination.Teacher script: Now, imagine your own face. What do you see? Start drawing your eyes, nose, and mouth inside the blank face shape.Example / model: A student draws two eyes, a nose, and a smiling mouth inside the outline.Printable use: Students draw facial features inside the blank head shape on the template.Move on when: Most students have started drawing facial features inside the face shape.Support if needed: Use an assigned partner to help describe features or a word bank card with feature names.
- Coloring and Decorating the Frame6 minTeacher actions: Explain how to color and decorate the frame around the face. Show examples of simple color choices. Allow students to color their frames and decorate as they like.Teacher script: Now let's make the frame colorful and pretty. You can choose your favorite colors and color the flowers too!Example / model: Teacher colors frame blue with yellow flowers as a model.Printable use: Students color the frame border and flower decorations on the printable.Move on when: Most students have colored and decorated their frame on the printable.Support if needed: Provide reduced task by asking student to only color the frame first.
- Writing Their Name6 minTeacher actions: Help students find the name tag on the template. Model writing your name clearly on the tag. Support students as they write or trace their own names on their printable.Teacher script: Now let's write our names on the tag below our picture so everyone knows who it is.Example / model: Teacher writes name clearly on tag area; a student traces or writes own name.Printable use: Students write or trace their names on the name tag area of the printable.Move on when: Students have attempted to write or trace their name on the tag.Support if needed: Provide sentence frame or word bank card with student names for support.
- Sharing and Wrap-Up6 minTeacher actions: Invite a few students to share their self portraits with the group. Praise imaginative details and name writing. Hang or collect portraits for display.Teacher script: Would anyone like to show their self portrait? Tell us about what you imagined!Example / model: Student shares: 'I drew my brown eyes and curly hair!Printable use: Students hold or show their completed printable during sharing.Move on when: Students willingly share and talk about their portraits.Support if needed: Allow assigned partner to help the student share with the class.
Formative Check
- Step: Drawing the Face
- Ask students to: show their drawn facial features inside the face shape
- Look for: Students include at least eyes, nose, and mouth in their drawing
Success Criteria
- Students can identify at least three facial features on their drawn self portrait for 80% of the class.
- Students can write or trace their own name on the name tag of their printable with legibility for 80% of students.
- Students can identify at least 2 key details or vocabulary words connected to Identity & Self.
Differentiation
Support: Pair students with a buddy to describe and remind facial features and help with drawing or name writing
Scaffold tool: Assigned Partner
Standard: Students use the template independently to draw their face, color the frame, and write their name.
Extension: Add more detailed features or clothes to the self portrait using imagination and drawing skills.
Early Finishers: Draw a friend’s portrait next to their own on a blank sheet of paper and share with the teacher.
Accommodations
- Provide pre-cut crayons or thicker pencils for fine motor difficulty.
- Allow oral naming of features if writing name is challenging.
- Use tracing lines for facial features as a guide.
- Seat near teacher or partner for additional support.
Common Misconceptions
- Students might think they need to draw perfect faces rather than their imagination.
- Some may not know where to start with facial features.
- Students might struggle to write or spell their names without support.
- Students may color outside the frame instead of inside the lines.
Assessment
- Observe if students include key facial features when drawing.
- Check for presence and legibility of name written on the tag.
- Listen for ability to name or identify features and explain their choices during sharing.
Teacher Notes
Standards
- CCSS.ELA-LITERACY.SL.1.4: Describe people, places, things, and events with relevant details, expressing ideas clearly.
IF SHORT ON TIME
- Keep: Introduction and Drawing the Face
- Skip or shorten: Skip or shorten the coloring and decorating step.
FOLLOW-UP OPTIONS
- Create a 'All About Me' page with favorite things and family details.
- Draw a portrait of a family member or friend and describe them.
- Write a sentence using the new vocabulary words about your self portrait.
HOME CONNECTION
Ask your child to describe their face and name some parts they drew in their self portrait.